Friday, May 22, 2015

Monster Cupcakes (using American Buttercream Frosting)

There's nothing special about these cupcakes, other than the way they were decorated. I made these for my niece's birthday party a few months ago. (I know...I'm really behind on my "flogging"!) The frosting recipe I used is a basic American Buttercream Frosting recipe that I got from Glorious Treats. The recipe is a great guideline for basic frosting, and can be modified using various flavor extracts, or by adding cream cheese. I simply used the basic, unflavored (well, vanilla) version for decorating these cupcakes. I plan to try this recipe with other flavors at some point in the future.


American Buttercream Frosting

Ingredients
  • 1 C (2 sticks) butter (salted or unsalted), room temperature
  • 1/4 tsp salt (if using unsalted butter) 
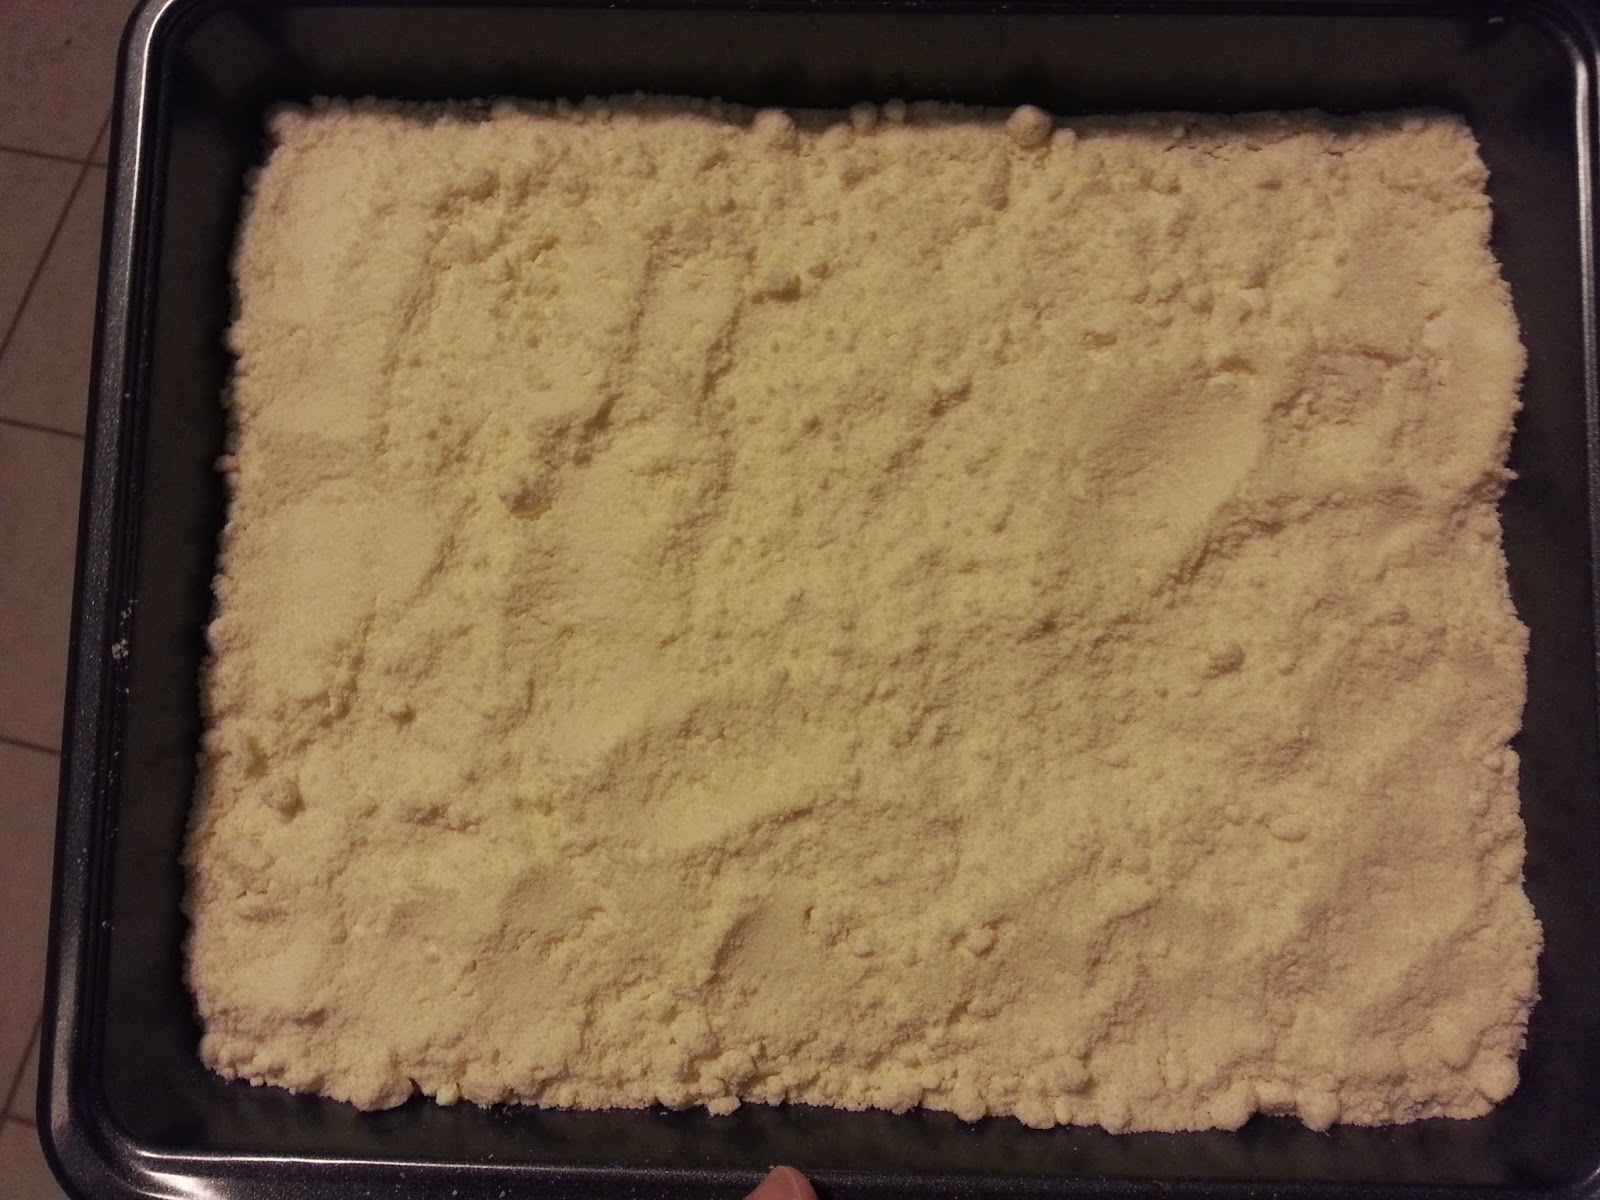
  • 4 C powdered sugar (sift if needed to break up clumps)
  • 1 tsp vanilla extract
  • 2-3 T heavy cream, half-and-half, or milk
Instructions
In electric mixing bowl, with whisk attachment, beat butter on medium speed until completely smooth. (This step is important for buttercream! Make sure there are no lumps and it is not too warm and melty. Put it back in the fridge for a little while if you need to.) Add salt (if needed). 
Add 2 cups powdered sugar, 1 cup at a time, beating after each addition.
Add vanilla and beat to combine.
Add about 1 tablespoon of cream, and continue beating.
Add the remaining 2 cups of powdered sugar, 1 cup at a time
Add another 1-2 tablespoons of cream until desired consistency is reached, and beat/whip for another minute or so.


Monster Cupcakes

Ingredients
  • Cupcakes
  • Frosting (see above, or use your own recipe)
  • Food coloring (preferably gel type)
  • Edible eyes (available in the cake decorating aisle, or make your own)
  • Other candy decorations you might want
Instructions
Separate frosting into bowls (1 for each color). Use mixer to mix food coloring into frosting until thoroughly blended, one color at a time. Consistency may need to be adjusted by adding more powdered sugar, especially is using liquid food coloring.
Scoop into piping bag(s) fitted with a Wilton #233 or #234 tip. It looks like this:
Hold tip against cupcake top and gently squeeze, while gently pulling away. Stop squeezing and lift away a little more. Place tip right next to where you just frosted, and repeat until the top of the cupcake is covered in "fur" and there is no cake visible. It will take some time and experimentation to figure it out and get the hang of it. You might want to test on some parchment paper or something until you figure out how to get the length of the frosting "fur" the way you want it. Then find a rhythm/pattern and go with it. This part will take a while.
After frosting, decorate with eyes. Make it fun! Not all monsters have 2 eyes like people do! Some might have eyes that stick up (try using toothpicks, pretzel sticks, or something else to hold up candy eyes). Eyes can be marshmallows, life savers, M&Ms, gumdrops, etc. Maybe some have bushy candy eyebrows. Maybe some have different types of fur (use different decorating tips).  Maybe some have spots or stripes (alternate colors when frosting). Maybe some have fangs or horns! Use your imagination and have some fun with it!
My finished Monster Cupcakes!
 
 
Not my pictures. Just some examples from the interwebs.
The Verdict
The kids loved them, and the adults thought they were cute, too!

Thursday, November 20, 2014

Thirsty Thursday - Peach Pineapple Orange Smoothie

This is one of my favorite smoothies that I make at home.  I came up with this recipe, but it was inspired by one of my favorites at Tropical Smoothie Cafe.  The fruit is sweet enough by itself, so you don't need to add any sweetener.  The frozen fruit allows you to get a frozen smoothie without adding ice, which I believe waters down the smoothie and doesn't taste as good.  The yogurt adds creaminess, and the orange juice adds enough liquid to make it blend-able.  The result is a tasty combination of fruit flavors, which makes for a wonderful healthy breakfast or small meal replacement.

Sorry, no picture. But here - have a clip art!
(I'll take a picture next time I make it.)

Peach Pineapple Orange Smoothie
Makes 1 serving

Ingredients
  • ~1 C frozen pineapple chunks
  • ~1 C frozen peach slices
  • 1/2 to 1 container greek yogurt (I suggest vanilla or honey flavor)
  • orange juice (1/2 to 1 C or more)
  • optional: protein powder (I sometimes add a little BiPro protein powder, which is flavorless and unsweetened, so it can be mixed into just about anything without being noticed)
Instructions
Place all ingredients in blender, with a little bit of orange juice.  Pulse on ice setting until chunks are broken up, adding as much orange juice as is necessary to make it blend-able, a little at a time.  Puree until smooth.

Enjoy!

Wednesday, November 19, 2014

Hummus Crusted Chicken

This is a recipe that I had seen several variations of on Pinterest.  It seemed pretty easy, and healthy, and I like hummus...so why not?  So this is what I came up with after looking at a couple versions (all pretty similar).


Hummus Crusted Chicken
Makes 2 breasts (2-4 servings)

Ingredients
  • 2 chicken breasts (boneless, skinless)
  • 4 T hummus (roasted garlic flavor is good)
  • salt
  • pepper
  • paprika
Instructions
Pound the thicker parts of the chicken breasts thinner, so it will cook more evenly.
Place on a pan, preferably lined with foil.
Pat the tops of the chicken breasts dry with a paper towel.
Sprinkle lightly with salt and pepper.
Spread ~2T of hummus evenly on top of each chicken breast.
Sprinkle paprika on top.
Bake at 450°F for 35 minutes, or until chicken is thoroughly cooked.


I baked mine slightly different than what the recipe called for, because I had something else in the oven with it.  I baked mine at 350°F for about 35 minutes, and then turned it up to 450°F and baked it for about another 10 minutes.  It cooked through just fine, but that's probably why the hummus didn't get as crusty as I was expecting.


Round 2:  I made this recipe again, and cooked at the higher temperature.  The hummus still didn't really get "crusty", but I don't care...it was still good!

Round 3: I made it with cutlets instead of regular chicken breasts.  The thinner meat meant that it took less time to cook.  Cutlets may be a better choice if you want smaller portions, but it's really just a matter of preference.


The Verdict
Awesome!  I don't think the hubby likes it as much as I do, but I love it!  I would say "will make again", but I already have made it again!  I think it's one of my new favorites.

Monday, October 13, 2014

I'm the worst "flogger" ever

Seriously.  The worst. 
I am so bad at regularly posting recipes!

It's been pretty busy at work, and starting to get into the really busy time of year, so I can't promise it will get any better.  But I will try!  I have some recipes I've tried recently (and actually taken some pictures of), so I just need to write and share with all of you!

Right now, I'm trying to take care of the bushels of apples I have sitting in my kitchen.  We went apple picking last weekend and I have apples coming out my ears. Fresh produce waits for no man (or woman)! Once I get through all of those, expect a series of apple-related recipes to drool over!

TTFN
~Lisa


Friday, August 22, 2014

Favorites Friday - Easy Cobbler

This recipe has been around in my family ever since I was little.  I don't think we even had it written down anywhere, because it's so easy.  This recipe needs no introduction, really.  It's just good.  Maybe "cobbler" isn't the right word for it, but it's the closest thing I could think of to describe it.


Easy Cobbler
Makes one 8x8 dish, ~6-8 servings

Ingredients
  • 1-2 cans pie filling (cherry, blueberry, apple, peach)
  • 1 box Jiffy cake mix
  • 1 stick butter or margarine, melted
Instructions
Preheat oven to 400°F.  Dump pie filling into 8x8 (or similar) pan and spread out evenly.  
This pan was actually 8x10
Sprinkle dry cake mix evenly on top.  

Pour melted butter on top, as evenly as you can (don't worry, it's impossible to really get it distributed evenly).  
Ready to go in the oven
Bake for 25 minutes or longer, until topping turns golden brown on edges (and make sure the middle doesn't look soupy).
All done!

It is best eaten while still pretty warm, but let it cool a little before eating.  Seriously.  It's upsetting to take a bite, have a cherry burst lava hot filling into your mouth, and burn your tongue bad enough to not be able to taste the rest of it afterwards.  You have been warned.

A few notes:
  • The temperature is not critical.  You could probably bake this anywhere between 350°F and 425°F and it would be just fine.  That way you can stick it in the oven with something else and bake at the same time.  Just adjust the time as needed.
  • So far we have made this with cherry, blueberry, apple, and peach filling.  All have been good.  My favorite is cherry, though.
  • I think the original called for 1 can of pie filling, but I like a little more filling so sometimes I use 2 (especially if I'm using a lightly bigger pan where it gets spread out more).
  • No need to refrigerate leftovers.
  • You can also make this over a campfire!  Line a dutch oven with foil, layer the ingredients in the same way, cover, and let cook until done.  We have done it before, and it was awesome!  Just don't forget the foil.
That's it!  Super easy, and the recipe is flexible.  Oh, and it's even better served with vanilla ice cream!

Friday, August 15, 2014

Favorites Friday - Tony and Lisa's Awesome Pizza of Doom

We stumbled across a specialty pizza at Mellow Mushroom one time, and it had a load of toppings that sounded delicious.  I think it was called "Hey Dude"?  Well we loved it, and decided to make our own version at home, with some personal touches.  This is typically what we make now when we do pizza from scratch.  I tried to think of what to call our pizza a while back, and in a moment of silliness I wrote down "Tony and Lisa's Awesome Pizza of Doom" and that's what I've called in in my head ever since; though in real life we just call it "our pizza".


Tony and Lisa's Awesome Pizza of Doom

Ingredients
(Use your judgement for amounts, based on your personal preference)

  • Pizza dough (we like Publix or Trader Joe's)
  • Olive oil
  • Garlic, minced or garlic powder
  • Grated parmesan or romano
  • Pizza sauce  *see note
  • Mozzarella
  • Pepperoni
  • Bacon bits
  • Chicken, shredded (or canned)
  • Buffalo sauce
  • Jalapenos (optional)
  • Onions, diced (optional)

Instructions
Let the dough rest at room temperature, as instructed on package.  Prepare/preheat your pizza stone (if using one).  Mix chicken with some buffalo sauce.  Roll out the dough into a large circle, and place onto the greased pizza stone or pan.  Brush (or Misto) the edges with olive oil, and sprinkle with garlic and parmesan/romano on edges.  Layer sauce, cheese, and toppings in order listed, finishing with a drizzle of buffalo sauce swirled on top. 

All prepped and ready to go in the oven!
Bake at 400°F for about 18-24 minutes (check what your dough package says), until cheese and crust turn golden brown.

    
Fresh out of the oven!  (No jalapenos or onions on this one)
 
We recently tried a variation using some leftover garlic butter spread from Publix, melted and brushed on the crust instead of olive oil.  It was even better!  But it's not something I keep around all the time.

*We have tried many different pizza sauces, some of which have been pretty good, and some have been downright icky.  The best ones we have found so far have been Trader Joe's fresh sauce (found right next to the pizza dough) and Classico jarred pizza sauce.  Publix brand jarred sauce wasn't bad, either.  Avoid Ragu at all costs.  There was also another one that I found was just too chunky, but for the life of me, I can't remember what brand it was.  (I know...helpful, right?)

Enjoy!

Friday, July 11, 2014

Favorites Friday - Cowboy Food

I have to share the story behind this one.  This is a recipe that my mom came up with when I was a little kid, but she originally called it "Bobbi's Ziti Beef Casserole".  My brother though it was icky and wouldn't eat it until my dad told him "this is what cowboys eat!", and then, of course, he loved it!  Ever since then, it has been known as "Cowboy Food", and it has been a family favorite.  I began making it for friends that came over in college, and they all loved it, too.  It's a good way to fix something fairly quick when people come over, but if you make it for just two people it makes good leftovers, too.  My husband and I make it fairly often, and by now we have added our own little modifications to improve on the original recipe.

Look at that glisten of cheesy goodness!


Cowboy Food
Makes 8 4 servings (Who am I kidding? We scarf this stuff down!)

Ingredients
  •  ~1 lb ground beef
  • 1 T onion flakes
  • 1 can cheddar cheese soup
  • 1 3/4 C ziti
  • 1 C frozen peas (or a little more if you want to sneak in extra veggies)
  • 1 1/2 C water
  • 1/2 tsp salt
  • 1/8 tsp black pepper
  • 1/8 tsp cayenne
  • 1 tsp paprika
  • 1-2 handfulls of shredded cheddar (this is one of those modifications we made to the original)
Instructions
  1. Brown ground beef in large skillet and drain grease.
  2. Add seasonings, water, cheddar cheese soup, ziti, and peas.
  3. Bring to a boil.
  4. Cover and simmer for 15 minutes, or until ziti is cooked.
  5. Remove lid, add cheddar cheese, and stir.  (You could add in the cheese near the end of the simmer time, if you prefer to have more melting time.)
  6. Let sit a few minutes for cheese to melt and sauce to thicken.

The amounts above are for the original fairly mild version.  If you like it spicier (like me), you can add extra pepper and even a little chili powder to taste.  I usually make the whole thing with approximately the amounts called for, and just add extra spice to my bowl.  Another tip: use frozen peas, not canned. I used canned peas one time, and it just didn't taste right.

Enjoy!